How to make your own save the dates from scratch and add your own personal touches.
Disclosure: This post may contain affiliate links, which means we may receive a commission if you click a link and/or purchase something. Please refer to our disclaimer for more details https://www.the-not-so-handy-mommy.com/disclaimer/. We are a participant in the Amazon Services LLC Associates Program, an affiliate advertising program designed to provide a means for us to earn fees by linking to Amazon.com and affiliated sites.
We decided we wanted to make our own save the dates: to save money, but to also add our own personal touch to it.
We have been engaged for exactly 6 months and our wedding is less than 10 months away. I have procrastinated the planning process, but after sending out our save the dates this week, it is suddenly feeling very real now.
I have searched every website out there and couldn’t find the right save the date to mimic our personalities and wedding theme.
We are hoping to keep this beach theme throughout our wedding and make most of our items by hand.
The design
Newlyweds typically include a picture of themselves on their save the dates, instead of the formal invitation.
We haven’t had our engagement shoot yet, so we had to go for plan b.
We wanted something creative and different. I ended up scrolling through Pinterest and Google for a very very long time.
We knew we didn’t want to copy anyone’s exact idea and were hoping to gather enough inspiration from others to create our own save the date.
In the details
We are having a beach wedding, late winter, so we wanted this to be our objective or basis.
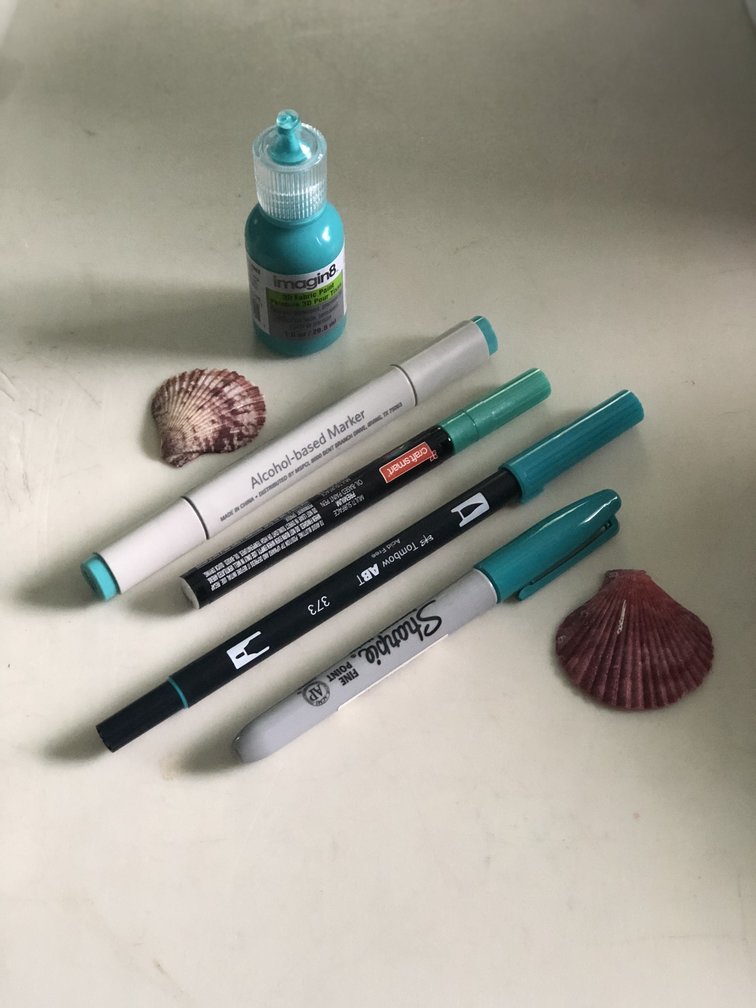
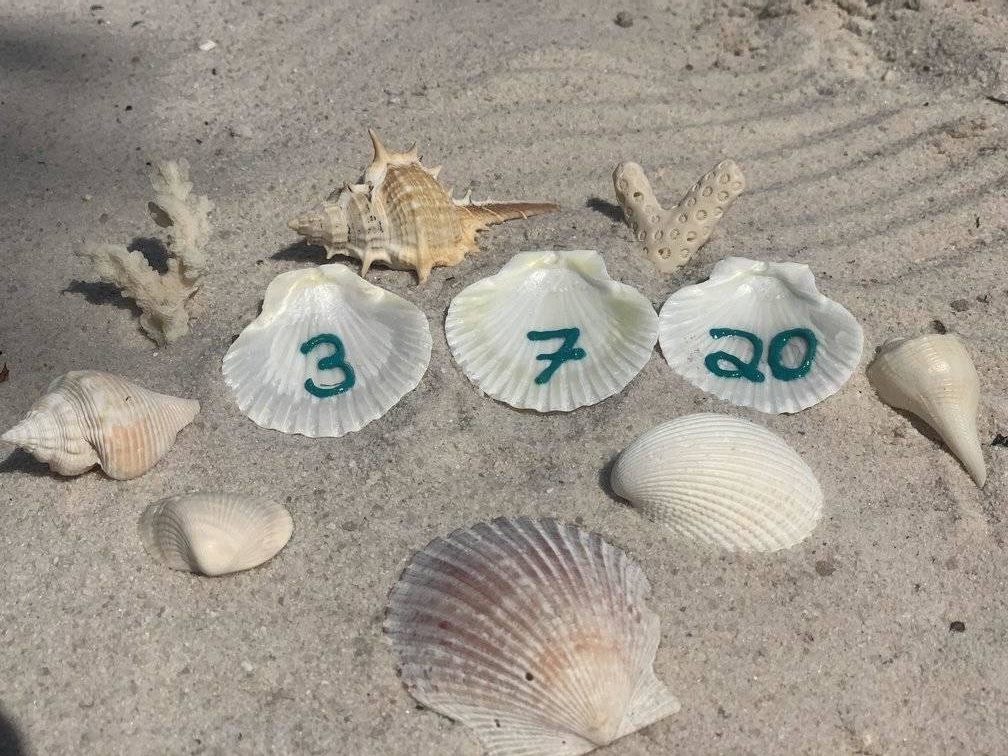
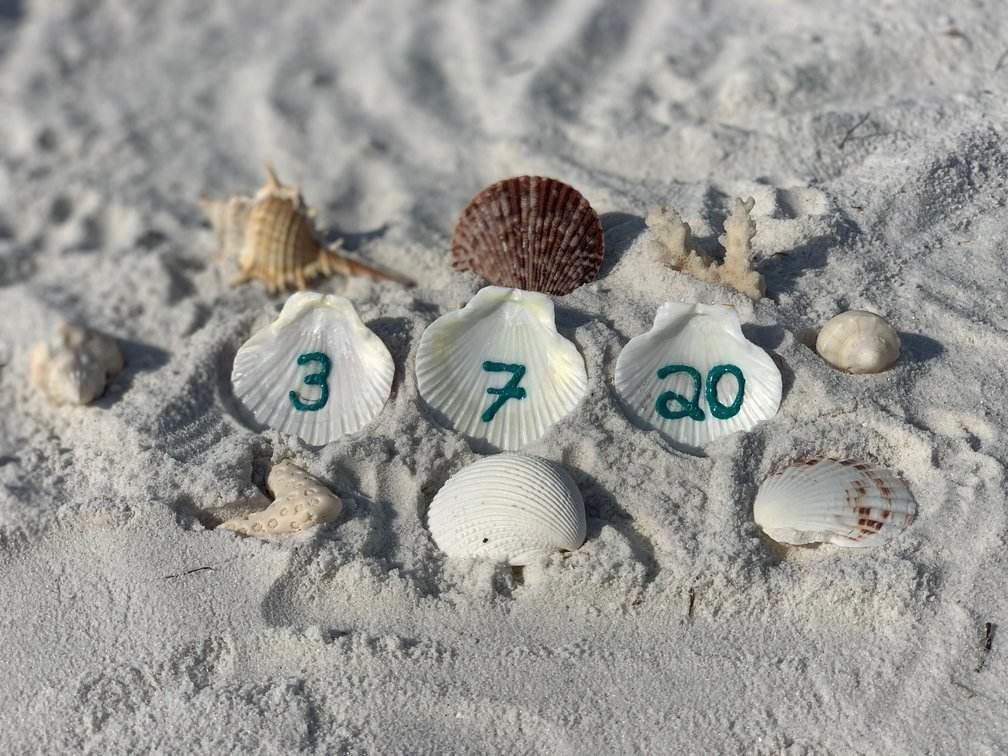
My fiance really liked the idea of incorporating the use of seashells. After much digging around the house, between the sandbox and my craft collection I found 3 perfect sized shells.
I was copying an example of writing the dates on the shells and editing the rest around them (got to love Photoshop!!)
Our setting would be different from the original example we found, but the idea of using the shells as the date is something that really stood out to me.
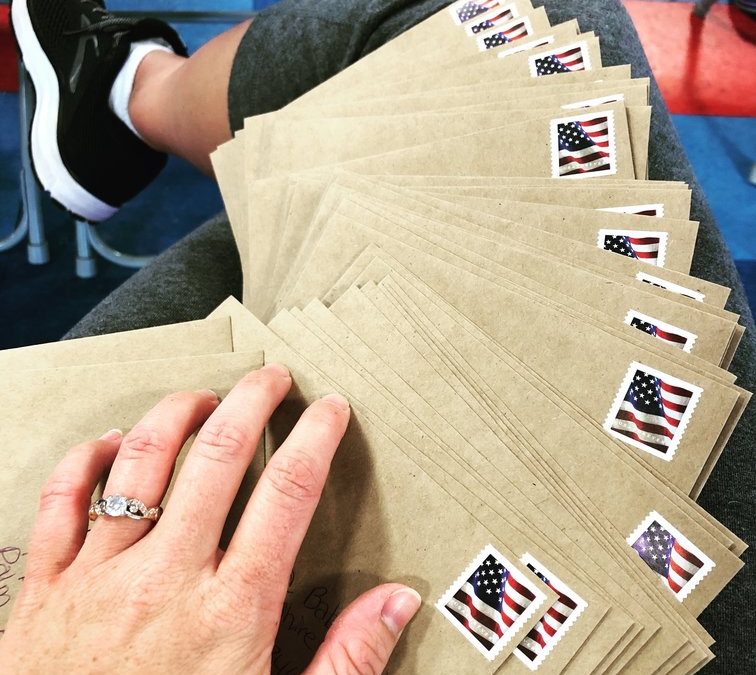
The first step was to label the shells, which took us to Michaels for a “day-date.”
We searched every aisle for a writing utensil in the color teal (one color that we did agree on).
We had difficulty deciding what would work on to the shells the best. I was determined to buy every pen option and Kyle opted for simple puff paint.
Guess whose worked the best????
Unfortunately, his.
I wanted to be so right, but not this time. All my pens were either too dull or not thick enough to show in a photo.
Taking the photo of the Save the Date
I loved the idea of a beach photo, since we are getting married on the water. It just needed a good angle and the best arrangement of the items in the picture (the seashells).
I am not the best photographer by trade and we were only using our camera phones, so this just become a lot of trial and error.
Luckily, my audience was just a few shells and not some eager toddlers to test my amateur camera skills on.
We tried a couple takes in our sandbox out back. The sun and the trees were not on our side for the correct angles and shade.
See ^^^^ not good!!!
In the end, we ended packing the family and heading to the beach.
With a few easy tweaks and rearranging of shells, we got our perfect picture!! Ta da!!
Final Save the Dates!!
We needed to add the details for our guests, but kept it very simple, as to not take away from the masterpiece.
I am not skilled with Photoshop yet, so I got our final draft as a favor from my sister-in-law (call it an early wedding present?).
We love it. We probably love it more because it was made by us and we actually put a lot of effort into it.
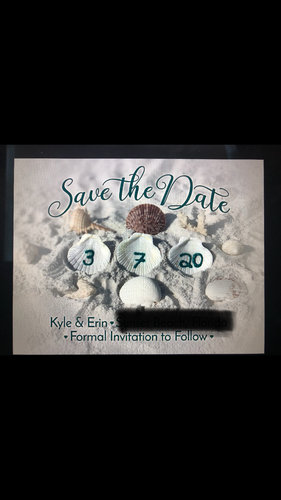
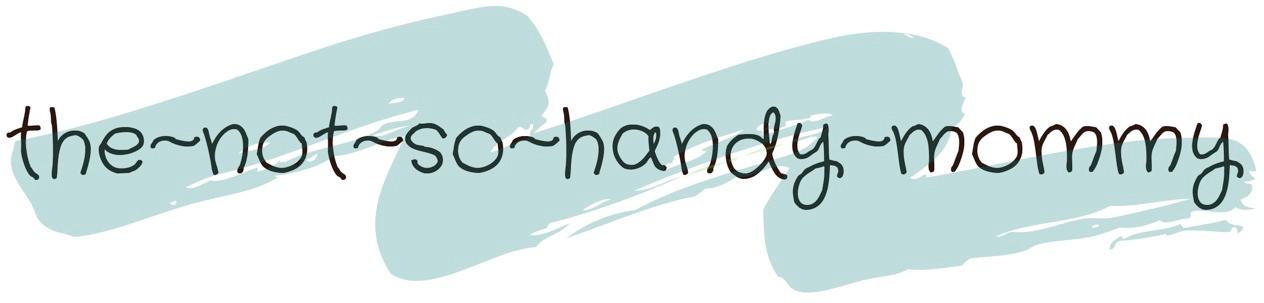
We sealed the deal with matching brown envelopes and even printed our own return labels!!
I highly recommend this step to save lots of writing and pens.
The return labels, stamps and envelopes all came through amazon, so it was easy to pick out and put together.
These are the items that I purchased and used for my save the dates, but I have a few tips:
- You can never buy enough stamps! Especially this early on, you will use them again with the formal invites, so buy in bulk and plan ahead.
- I loved the look of the brown envelopes, but keep the color of them in line with you theme!
- We purchased these return labels which were really easy to print on our own printer. (A little google search first) Also, they were too big to place on the front of the envelope, so they ended up going on the back where it sealed.
I hope these ideas help you in your wedding planning! I will have a segment on our wedding process every month, so please keep a look out for future advice or DIY planning!!!