This post contains affiliate links. Please see my Disclaimer Page for details.
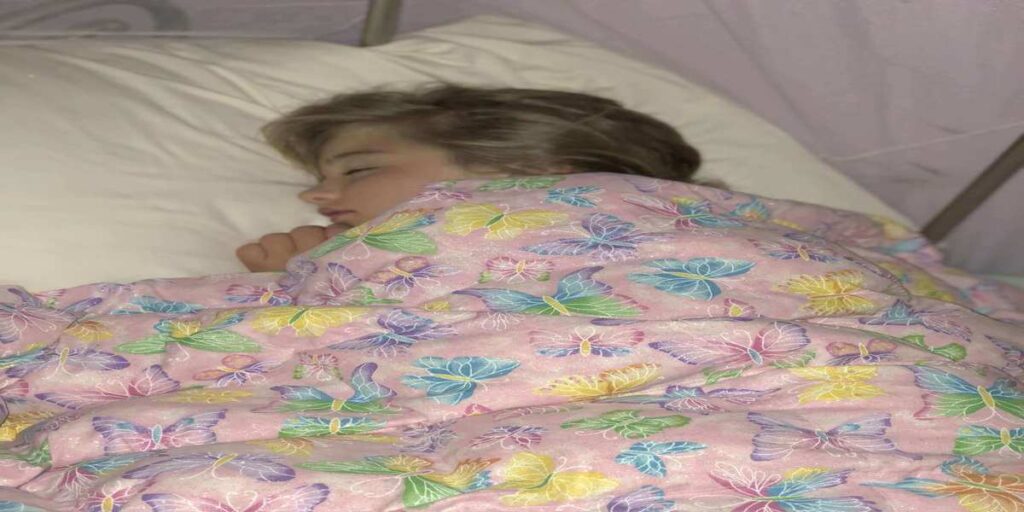
I have done lots of research on these “weighted blankets” for my daughter: such as size, weight and color preference. There are certain requirements my daughter has to have, such as the color pink and comfort (extra soft). I was in the middle of an amazon search when my mom suggested, “Why don’t you DIY your own weighted blanket?”
I stared blankly at her.
Why didn’t I think of that?
Probably because sewing is not my forte, but I am trying to make an effort to not be scared of the sewing machine.
My search then changed over to Pinterest and Youtube, especially the latter. I needed someone to physically show me how this was going to be possible.
After a few demonstrations, I was convinced I could do this!!
DIY Weighted Blanket Supplies
First step was to shop for the materials. Walmart is the closest store to me, so that is where I went first.
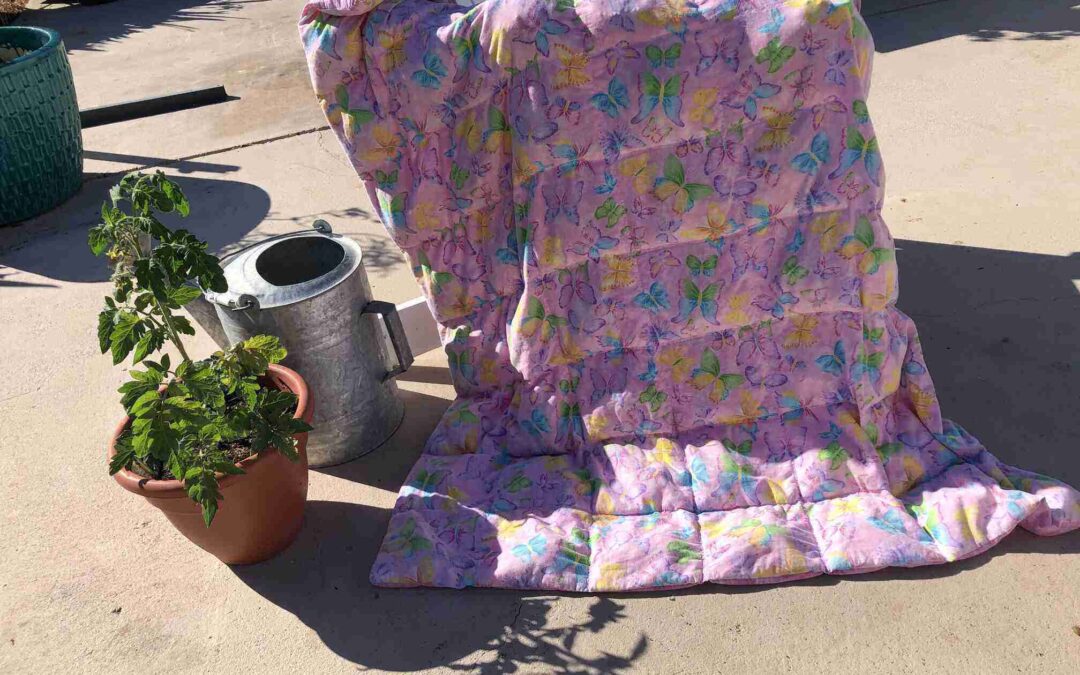
I let my daughter pick out the material, two sets of fabric (a pattern for each side) and they had to be a yard and a half long by their standard roll of 46″ I think?
(Make a note here, to not buy a thick material that could add more weight to your blanket, only breathable cotton.)
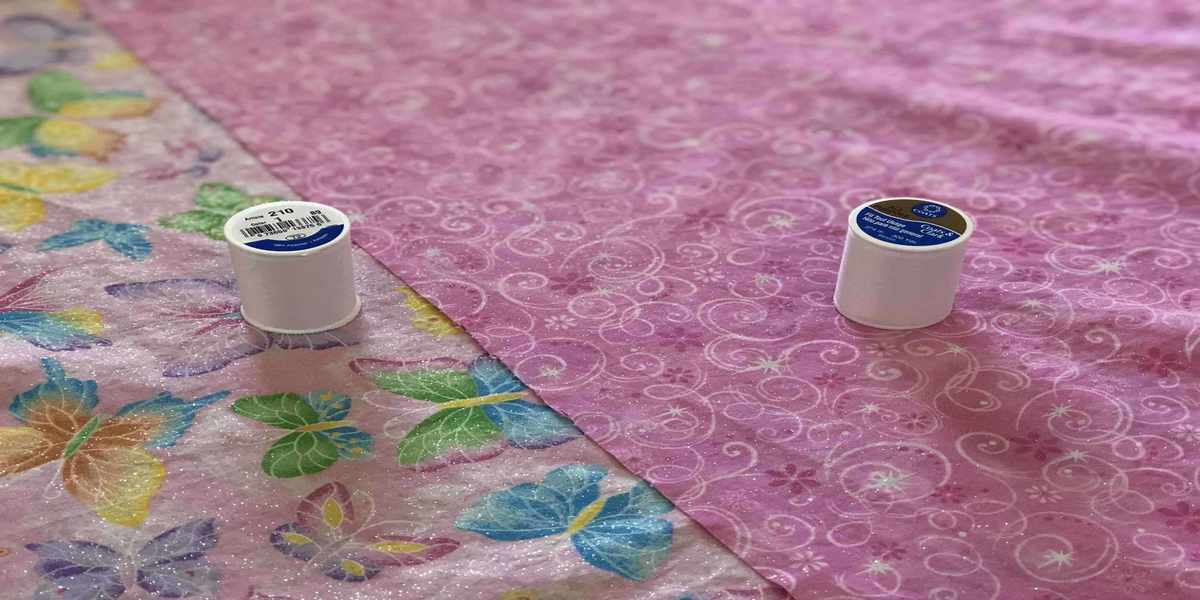
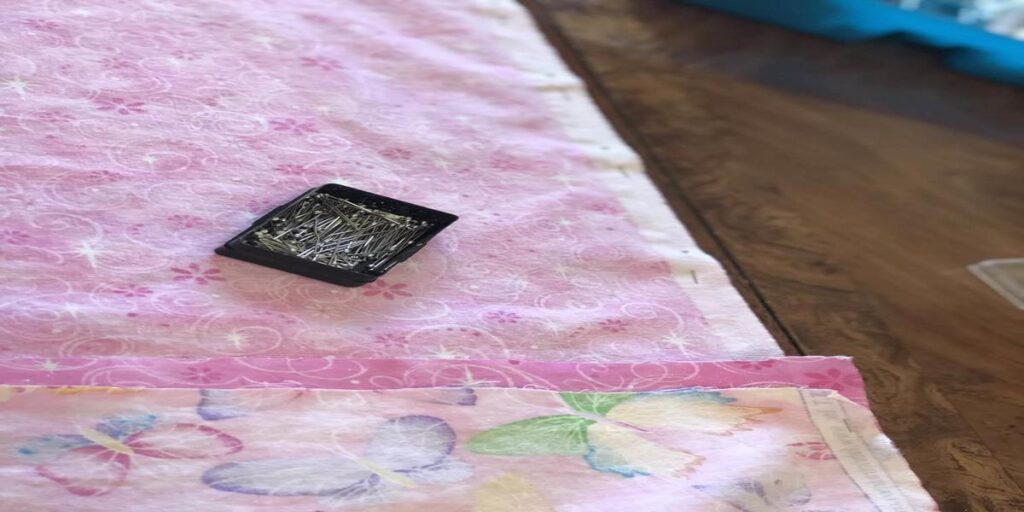
I bought two spools of thread, buy extra! You don’t want to be in the middle of a stitch and run out of thread, this is a precaution!
I never touched the second spool, but it depends if your blanket will be bigger or how much back stitching you want to add in.
The last two items are stuffing and the weighted beads. I bought both off Etsy: as to buy the exact amount I needed, but this option works as well.
Technically, Ebay was cheaper for both, but I didn’t want to have excess material and not know what to with it. I recommend using this amount.
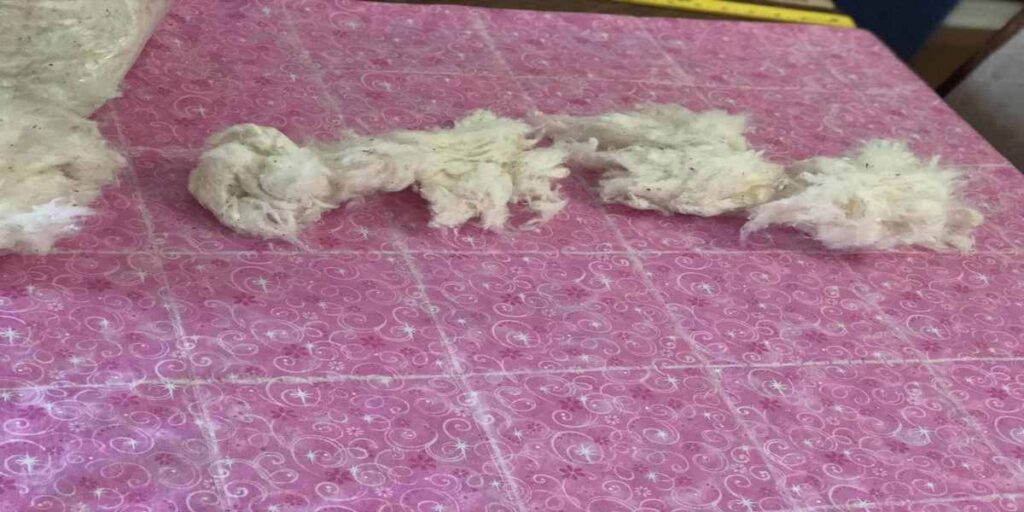
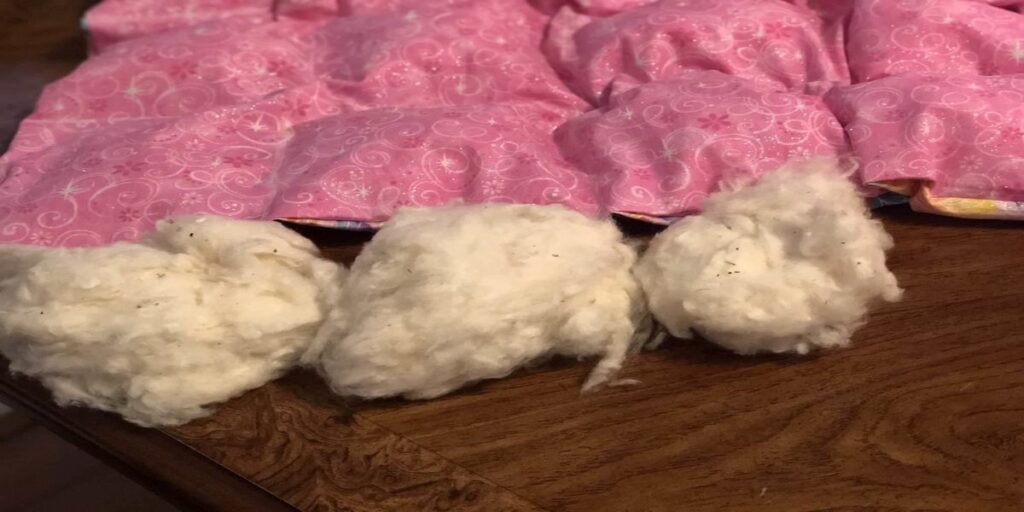
I bought a 3lb bag of stuffing….way too much!! I probably used between a 1/2 -1 lb of stuffing for a 6 lb weighted blanket (just so you now the conversion).
The beads though, I bought exactly. A weighted blanket is supposed to be 10% of the person’s weight, so my daughter is almost 60 lbs, so I made a 6 lb blanket (hopefully she will grow into it and last a year or two).
The beads cost me about $20 with shipping included, but I didn’t have extra! The stuffing I could find use for again, but beads? I didn’t want those laying around.
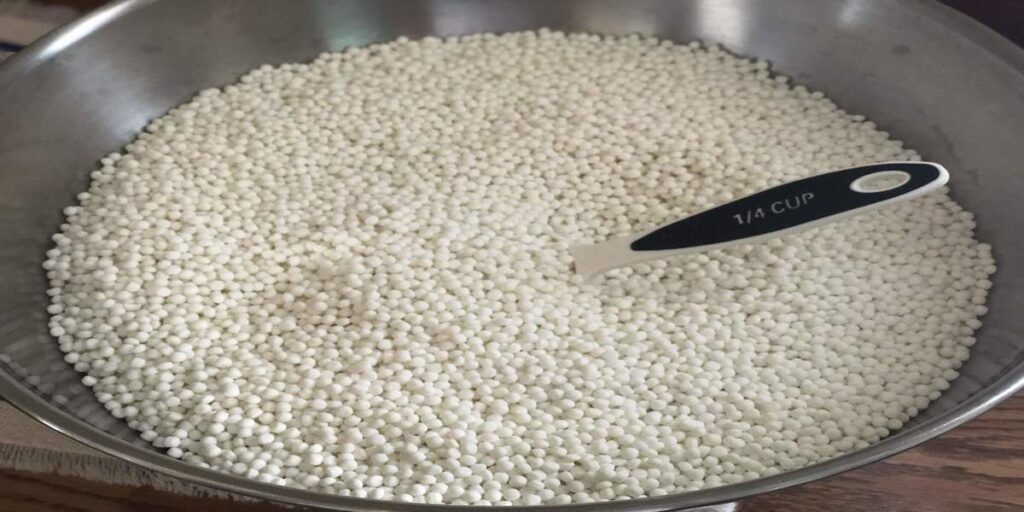
These beads are also called “Heavy White Plastic Poly Pellets” and they need to be Machine Washable & Dryable. This blanket is for a child, so make it kid friendly, you know it will be washed!
How to Assemble a DIY Weighted Blanket
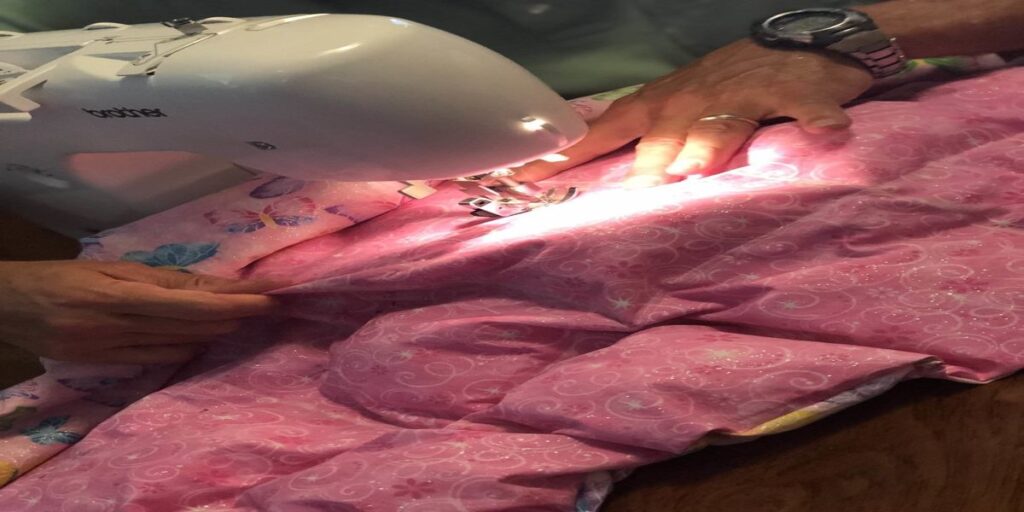
We start with laying the two fabrics out with the fronts facing each other. In the future step after sewing the edges, the fabrics will be turned inside out with the bold colors facing out and corners tucked in.
If you are very particular in your sewing projects please iron your fabric hear to avoid any wrinkles or potential for uneven fabric alignments.
I am more of the “go-getter” and just trying to get the project at hand accomplished, almost too impatient. You will notice some “male hands” in my pictures, yes they are my dads. He gets volunteered for my new projects, he likes to slow me down.
His perspective comes in handy though and he thinks of certain steps that I would have left out (such as the ironing), which could have potentially ruined my outcome in the end. I am also a very newbie sewing machine expert, in which I am hoping to master over the years (unless he loses patience with me first).
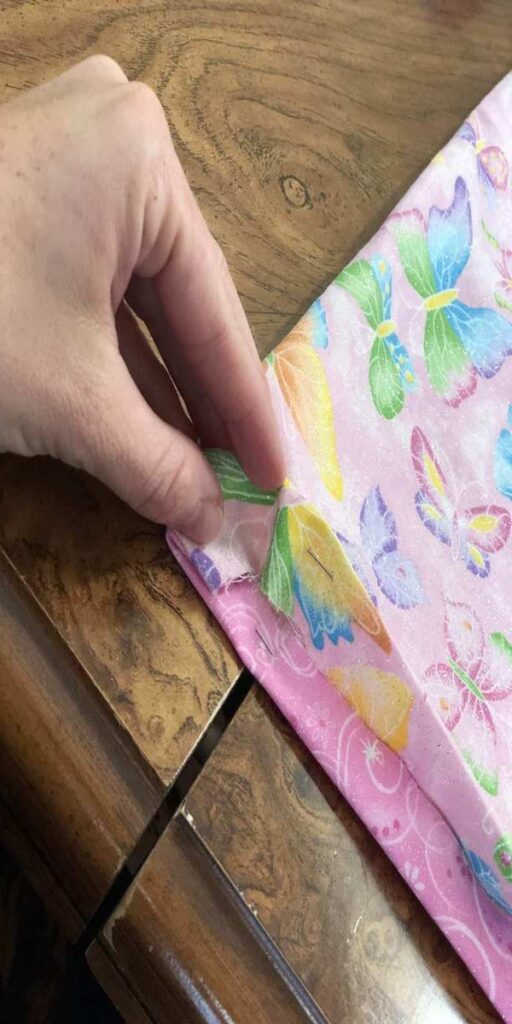
With the top of the fabrics touching each other, pin the edges around three sides. If you end up with any sides that are not even trim them off.
After the sides are securely pinned stitch the three outer sides, but not the fourth edge, leaving one opening for stuffing.
Then take the fabric and fill it inside out, so the bold fabric is now sticking on top and face outward. My daughter picked out fabric with glitter on the outside, so the texture of the material was easy to determine which way it should go.
I recommend a double stitch through out this whole process. Reinforcement is key to not letting the beads slide throughout the DIY weighted blanket. The double stitch will keep the weight laying even on top of the sleeper without letting any stuffing to come loose as well.
When your fabric is neatly laid out, we are going to plan the pockets to be stuffed. I recommend using fabric chalk and tracing with a yard stick where you want them to be. Don’t worry the chalk stays on long enough to be sewn over, but will wash out after the first cycle.
I have seen some blanket makers not stuff the outer edges with the weighted beads, instead they focus the weight in the middle of the blanket. I made my blanket length exactly to my daughter’s height, so I believe it is balanced throughout. She also moves in her sleep, so I think full coverage will help keep her well rested throughout the night.
I traced pockets of 7 X 9 and drew them evenly out. I want to sew the columns first, Make sure it is the columns from the fourth (final edge) side, so you can stuff it down each one.
After my columns are stitched, I am going to focus on each pocket in each row. When one row is stuffed then I will stitch that closing seam and so on.
I have 6 lbs of beads and many pockets. Our objective was to evenly distribute this amount throughout each one. I did not have a scale on me at the time, so I did a little math between pounds and cups. When calculated out, each pocket would need roughly a quarter of a cup of beads and a handful of stuffing.
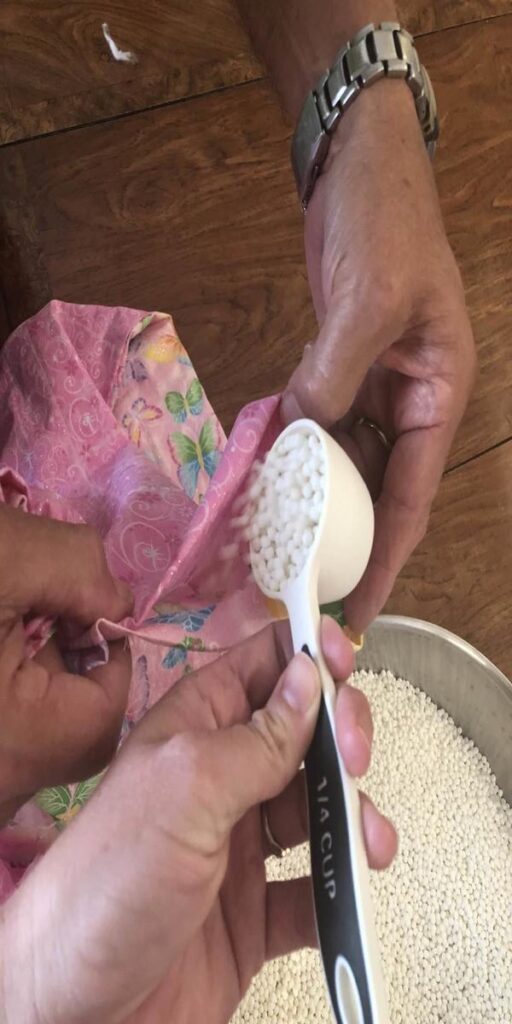
On each column I scrunch up the fabric to stick the stuffing down to the end row. This was a little tough to do, but luckily I have tiny hands to fit between the column stitching. Then before I seal the top row, I dump the 1/4 cup of beads in.
It was hard to sew the row properly. It was a combination of having to tilt it down so nothing fell out, but also wanting to lay it flat so the stuffing didn’t bunch up in one ball. This was the tricky balance, because obviously the two don’t want to mix, but you want to keep them as smooth as possible.
As you progress along, the rows become easier to stuff, but harder to sew. You don’t have to reach as far down, but the bigger blanket becomes harder to maneuver through the sewing machine.
When you get to your last row, before you stuff, please pin your edges facing in. You want them even and tight, as to give the same look as the first three edges, which got stuffed inward. Also, the more of the fabric that you can sew in to the actual blanket, than the less likely it will fray and fall apart later (plus you know kids like to find something to “pick at” as well)!!
Tightly sew the top edge, don’t forget a double stitch and you are done!!
My blanket took me about 3 nights between an hour to two each one to focus on. I think now I could take a lot less time, now that I know what I am doing. I also need to master the sewing machine before I do another one of these projects!!