This post contains affiliate links. Please see my Disclaimer Page for details.
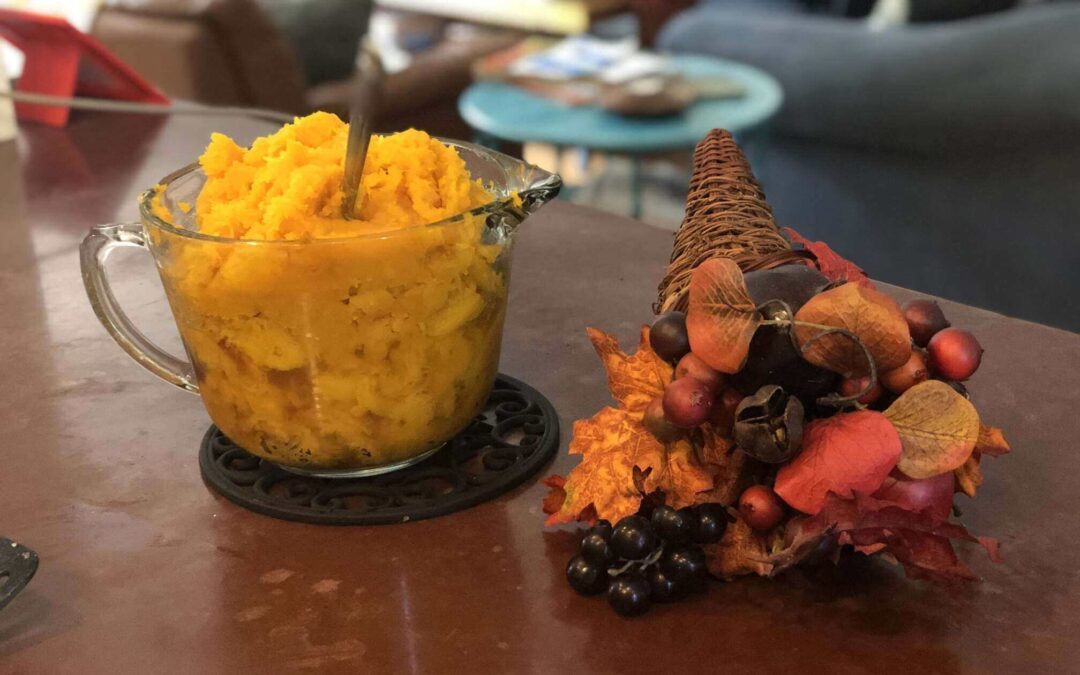
It is October! The holidays are officially upon us. My home is finally decorated and I am ready to start the festivities. What a better way to start the season than with pumpkin? I will show you how to cook fresh pumpkin. It is the staple of the season and I will start using it in every recipe:
- pumpkin soup
- pumpkin muffins
- pumpkin quick oats and so on!
I am going to show you the easiest way to cook a fresh pumpkin. And how to properly store it for use all season long. This set of instructions does come from my family, and has been used for many years.
Prep your Fresh Pumpkin
First step, is to wash and clean your pumpkin. Pumpkins come out of a patch and you will be cooking the whole pumpkin with rind and all. You wouldn’t want to risk the chance of dirt falling into the edible inside.
My pumpkins are also decorated. My daughter doesn’t miss an opportunity to color and beautify our pumpkins. I sometimes have to do a deep scrub to remove her glitter before cooking.
Carve the Pumpkin
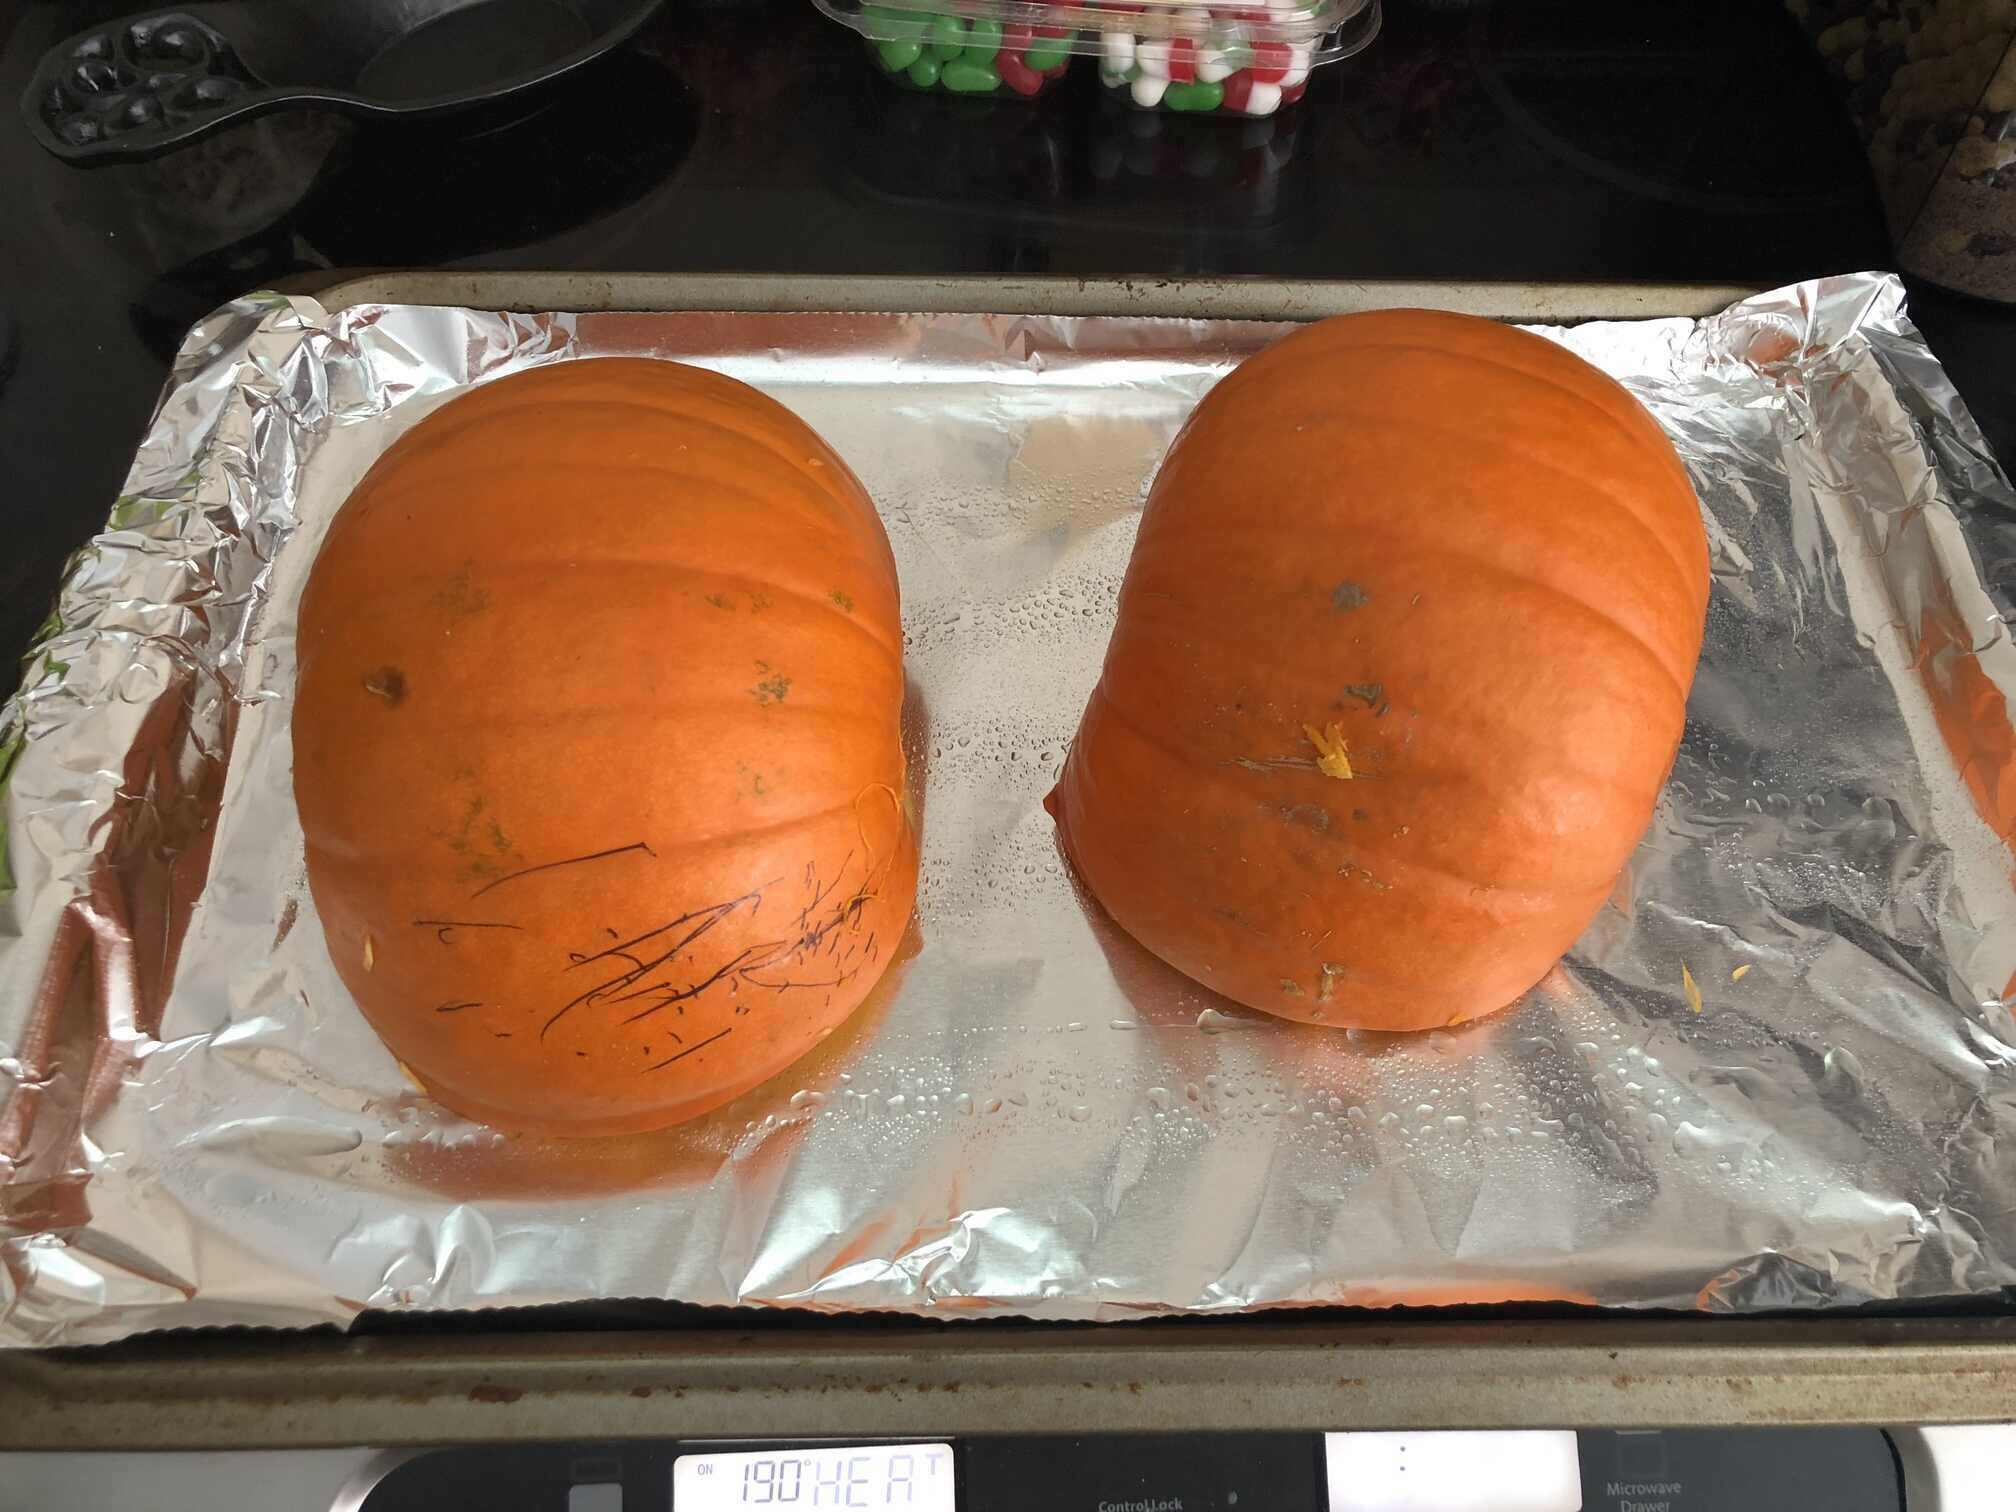
You will need a big sharp knife to slice your pumkin in half. I slice down the middle and lay them on a “foiled and sprayed” cookie sheet. My mom prefers to slice the pumpkin in thinner slices. The only difference is it will cook faster and she doesn’t usually have to flip them towards the end of the baking time.
How to clean out your Fresh Pumpkin.
Before you lay your pumpkin down on the cookie sheet, you need to clean it out! You will have to remove it’s guts. It is not the most pleasant step, but very important! Remove the guts, but save the seeds.
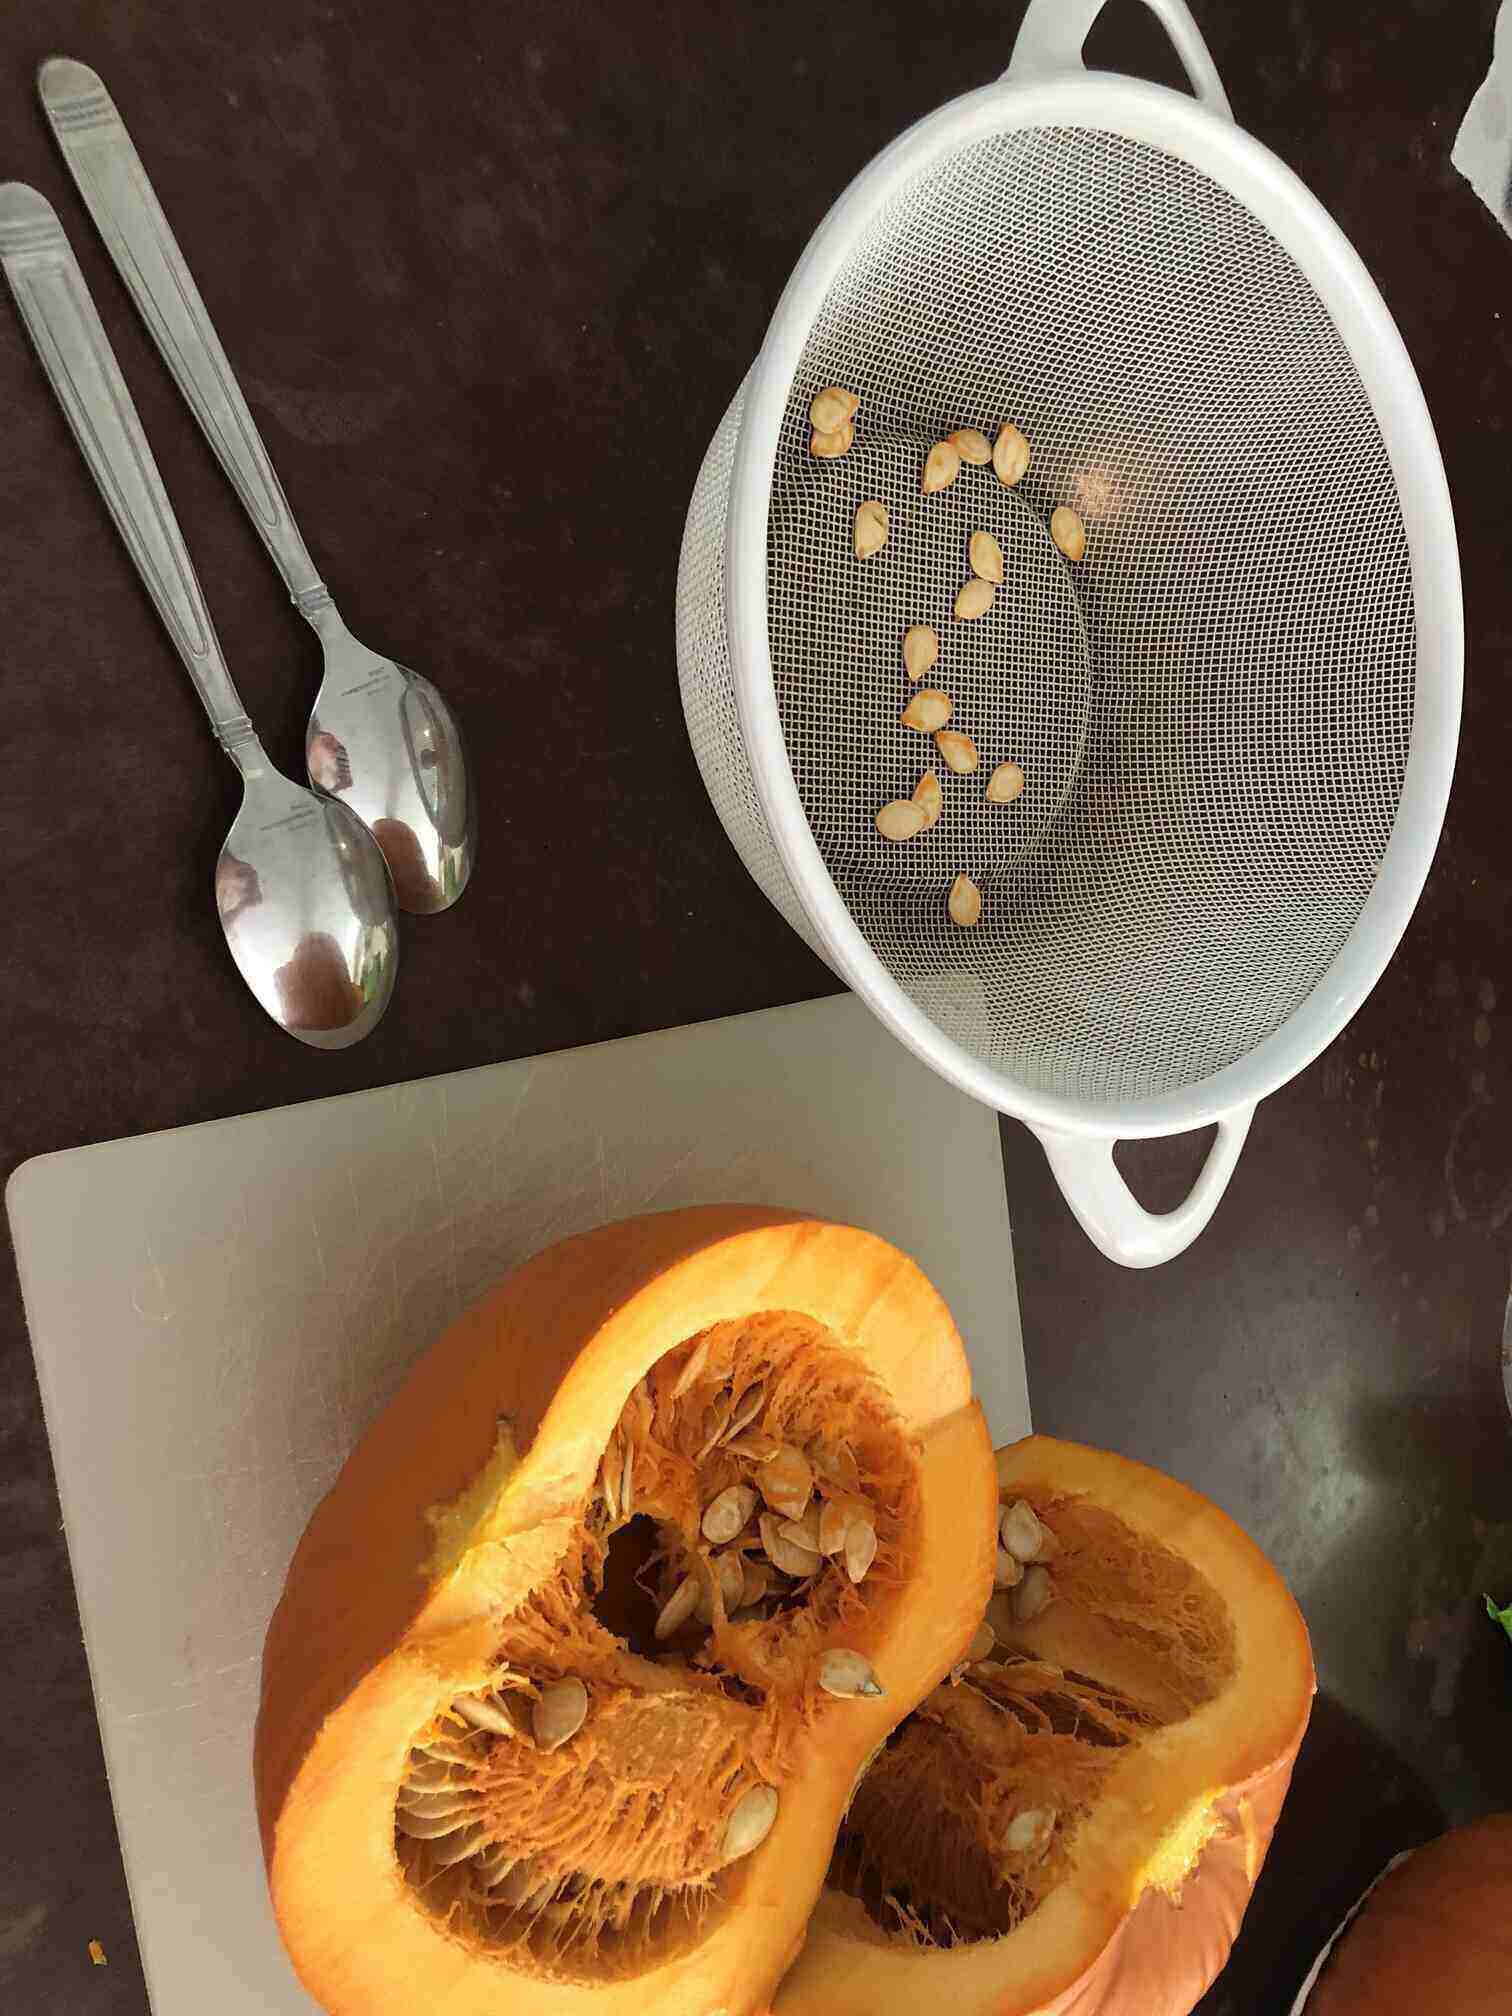
After you cook the pumpkin, you can roast the seeds. The seeds make an excellent healthy snack.
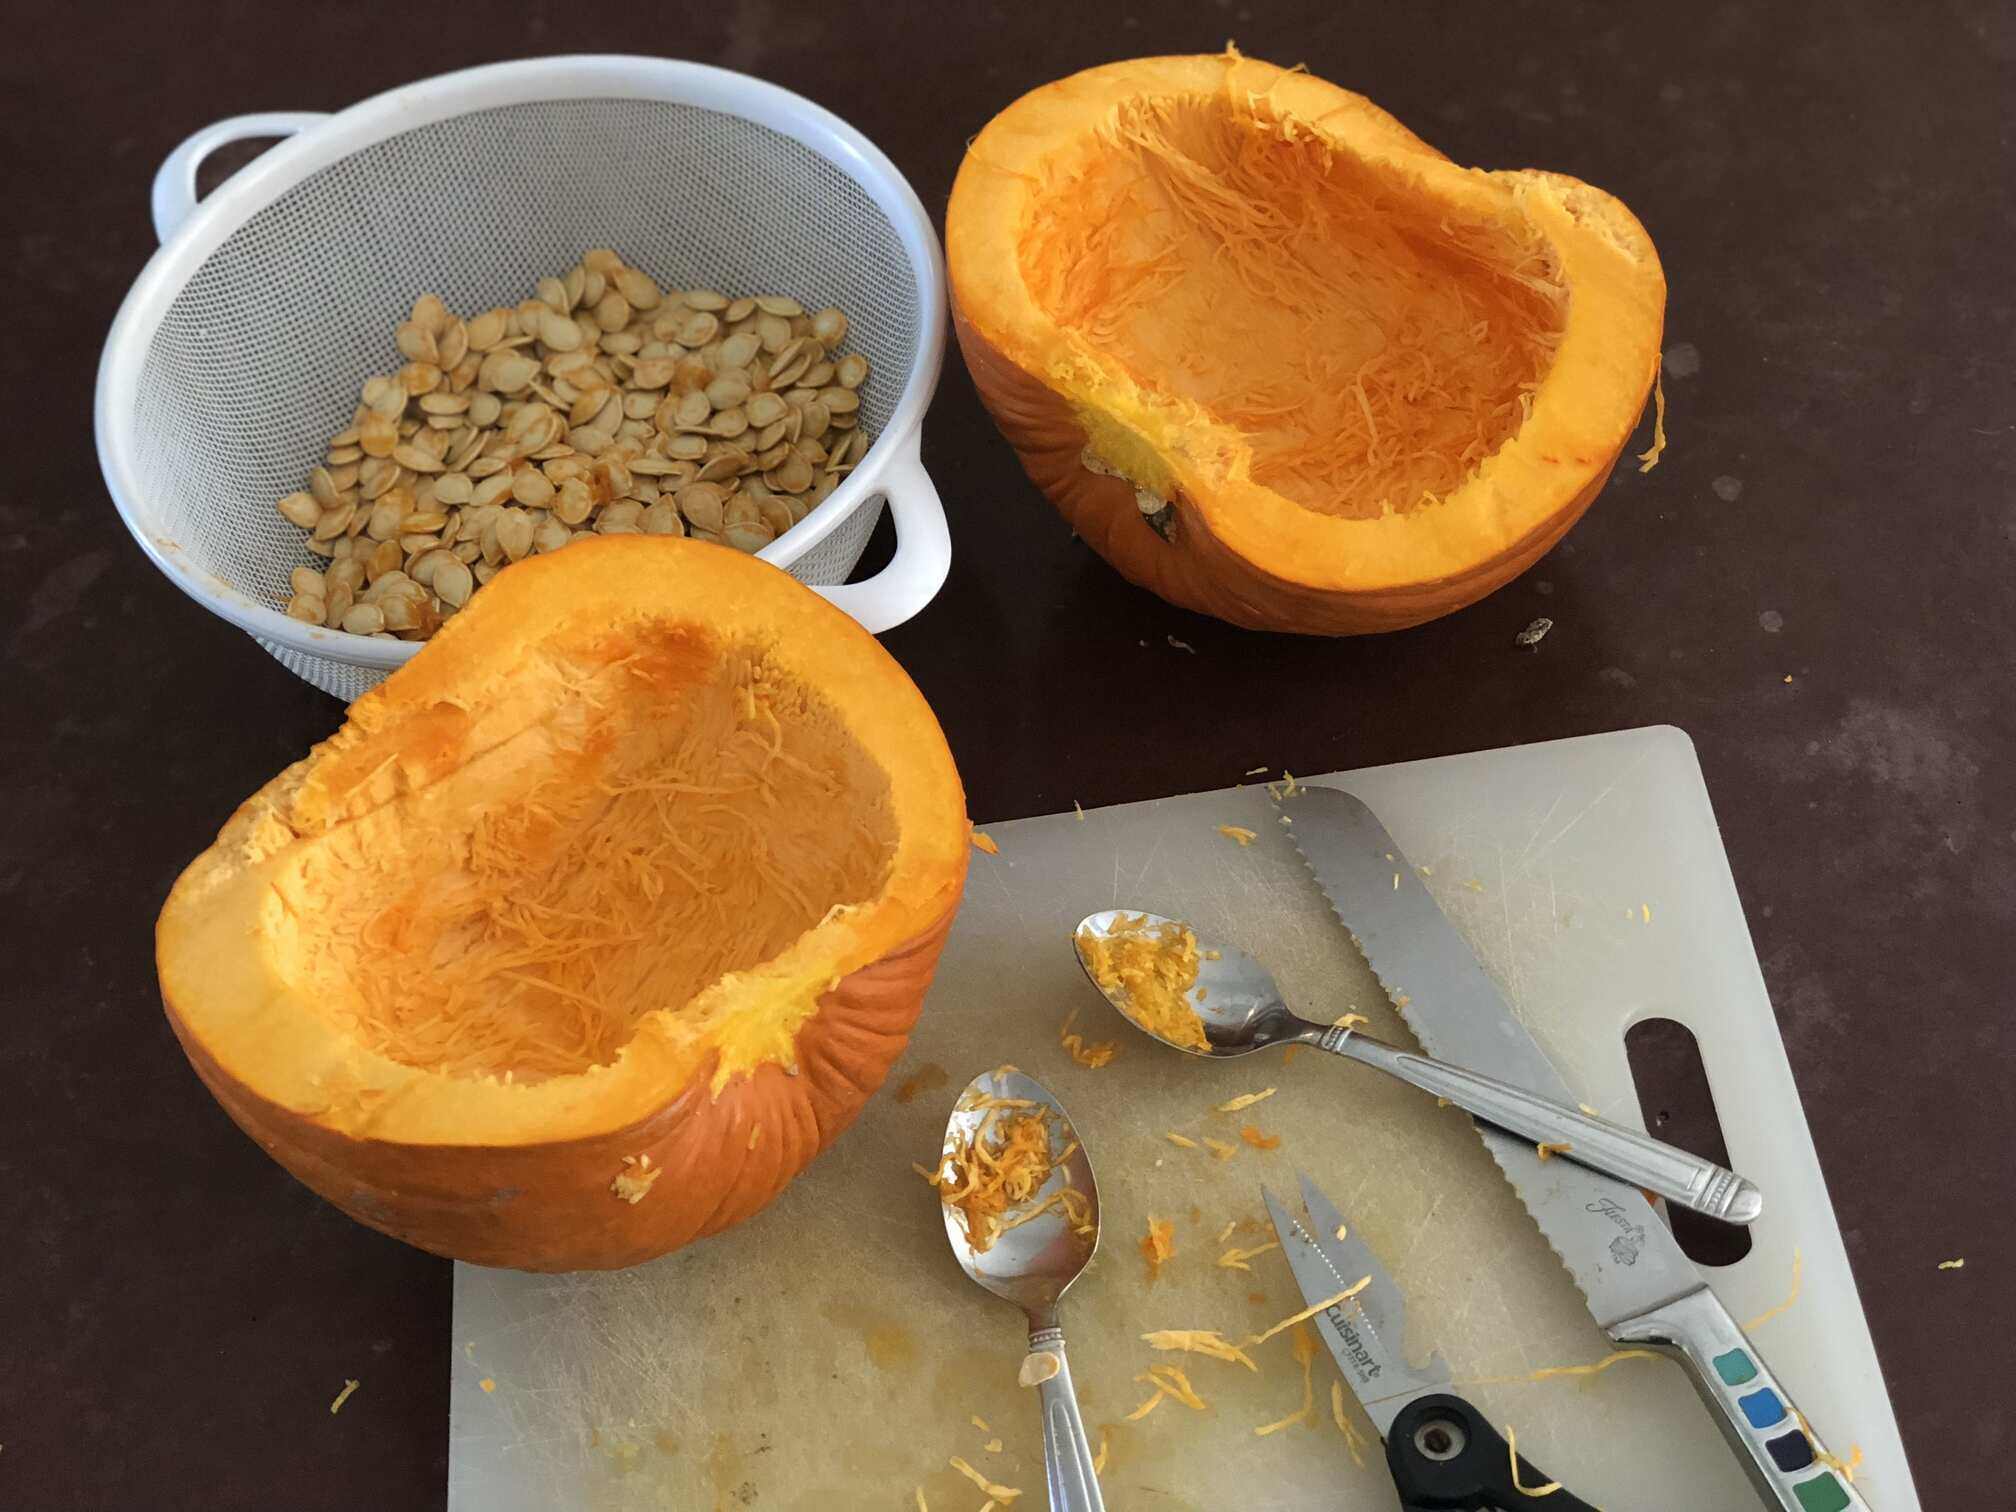
I scoop the insides with a spoon and just remove the inner membrane. Focus on the removal first, then pick out the seeds while the pumpkin is cooking. Save yourself the time!
Instructions to Cook Fresh Pumpkin
Preheat the oven to 350 degrees. Add water to the bottom of your cookie sheet. The water is going to steam the pumpkin and you want to encircle it. This strategy will keep the pumpkin from drying out in the oven.
Cook for an hour.
Depending on the size of the pumpkin, you may have to cook longer. You can test the pumpkin with a fork. If it slides easily in, and just falls apart, it is done!
Pull it out and let it cool for a few minutes. When it is cool to the touch, just peel the skin back. It should remove easily, but use a spoon for assistance.
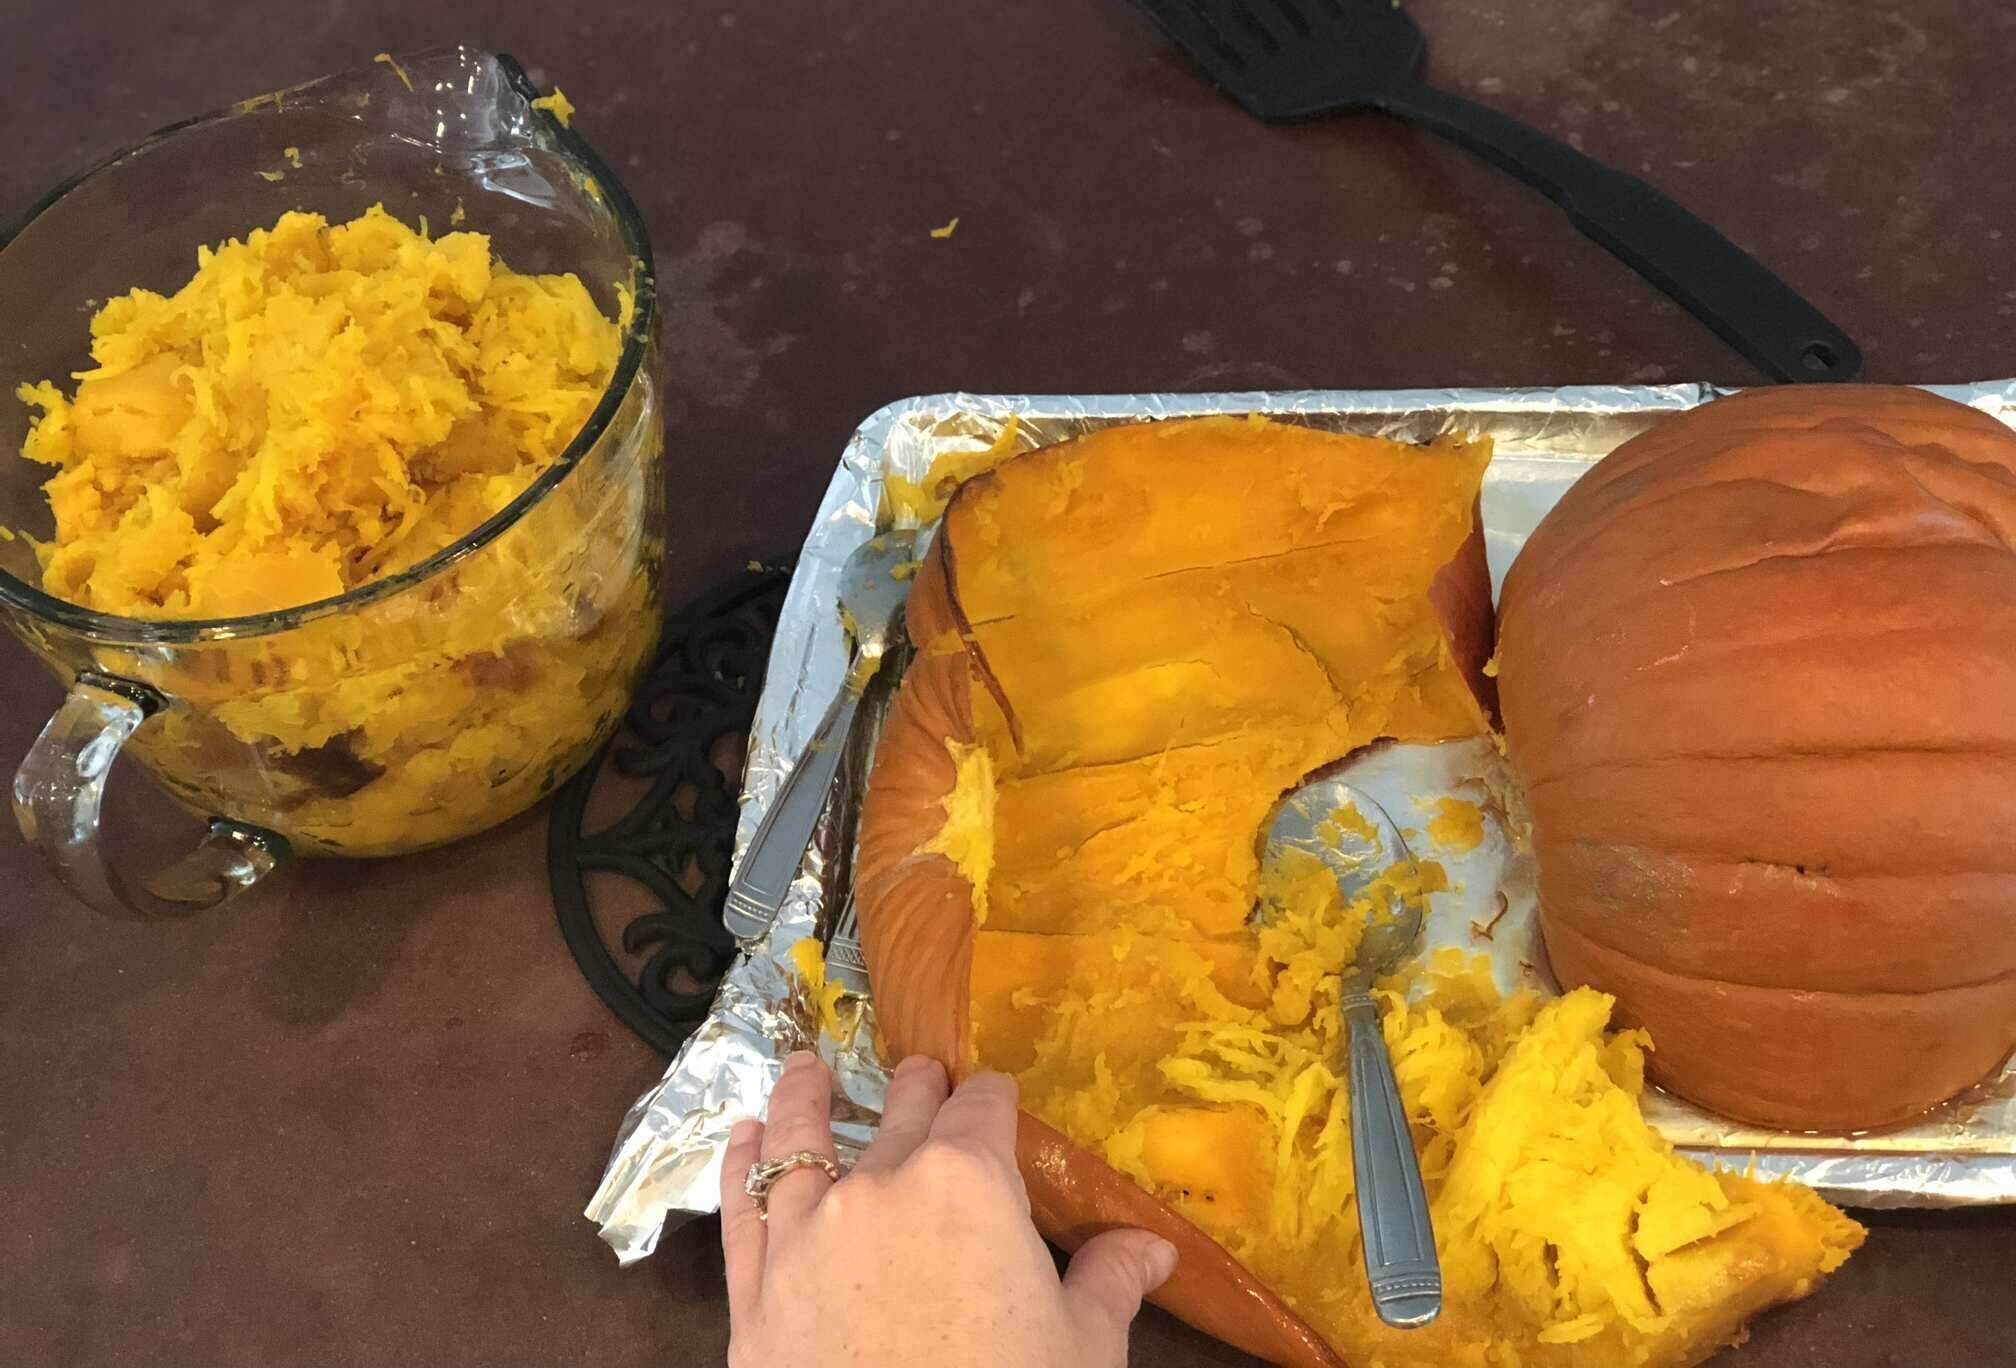
Place the pumpkin in a stainless steel or glassbowl, and mash it. If it properly cooked, it won’t need much.
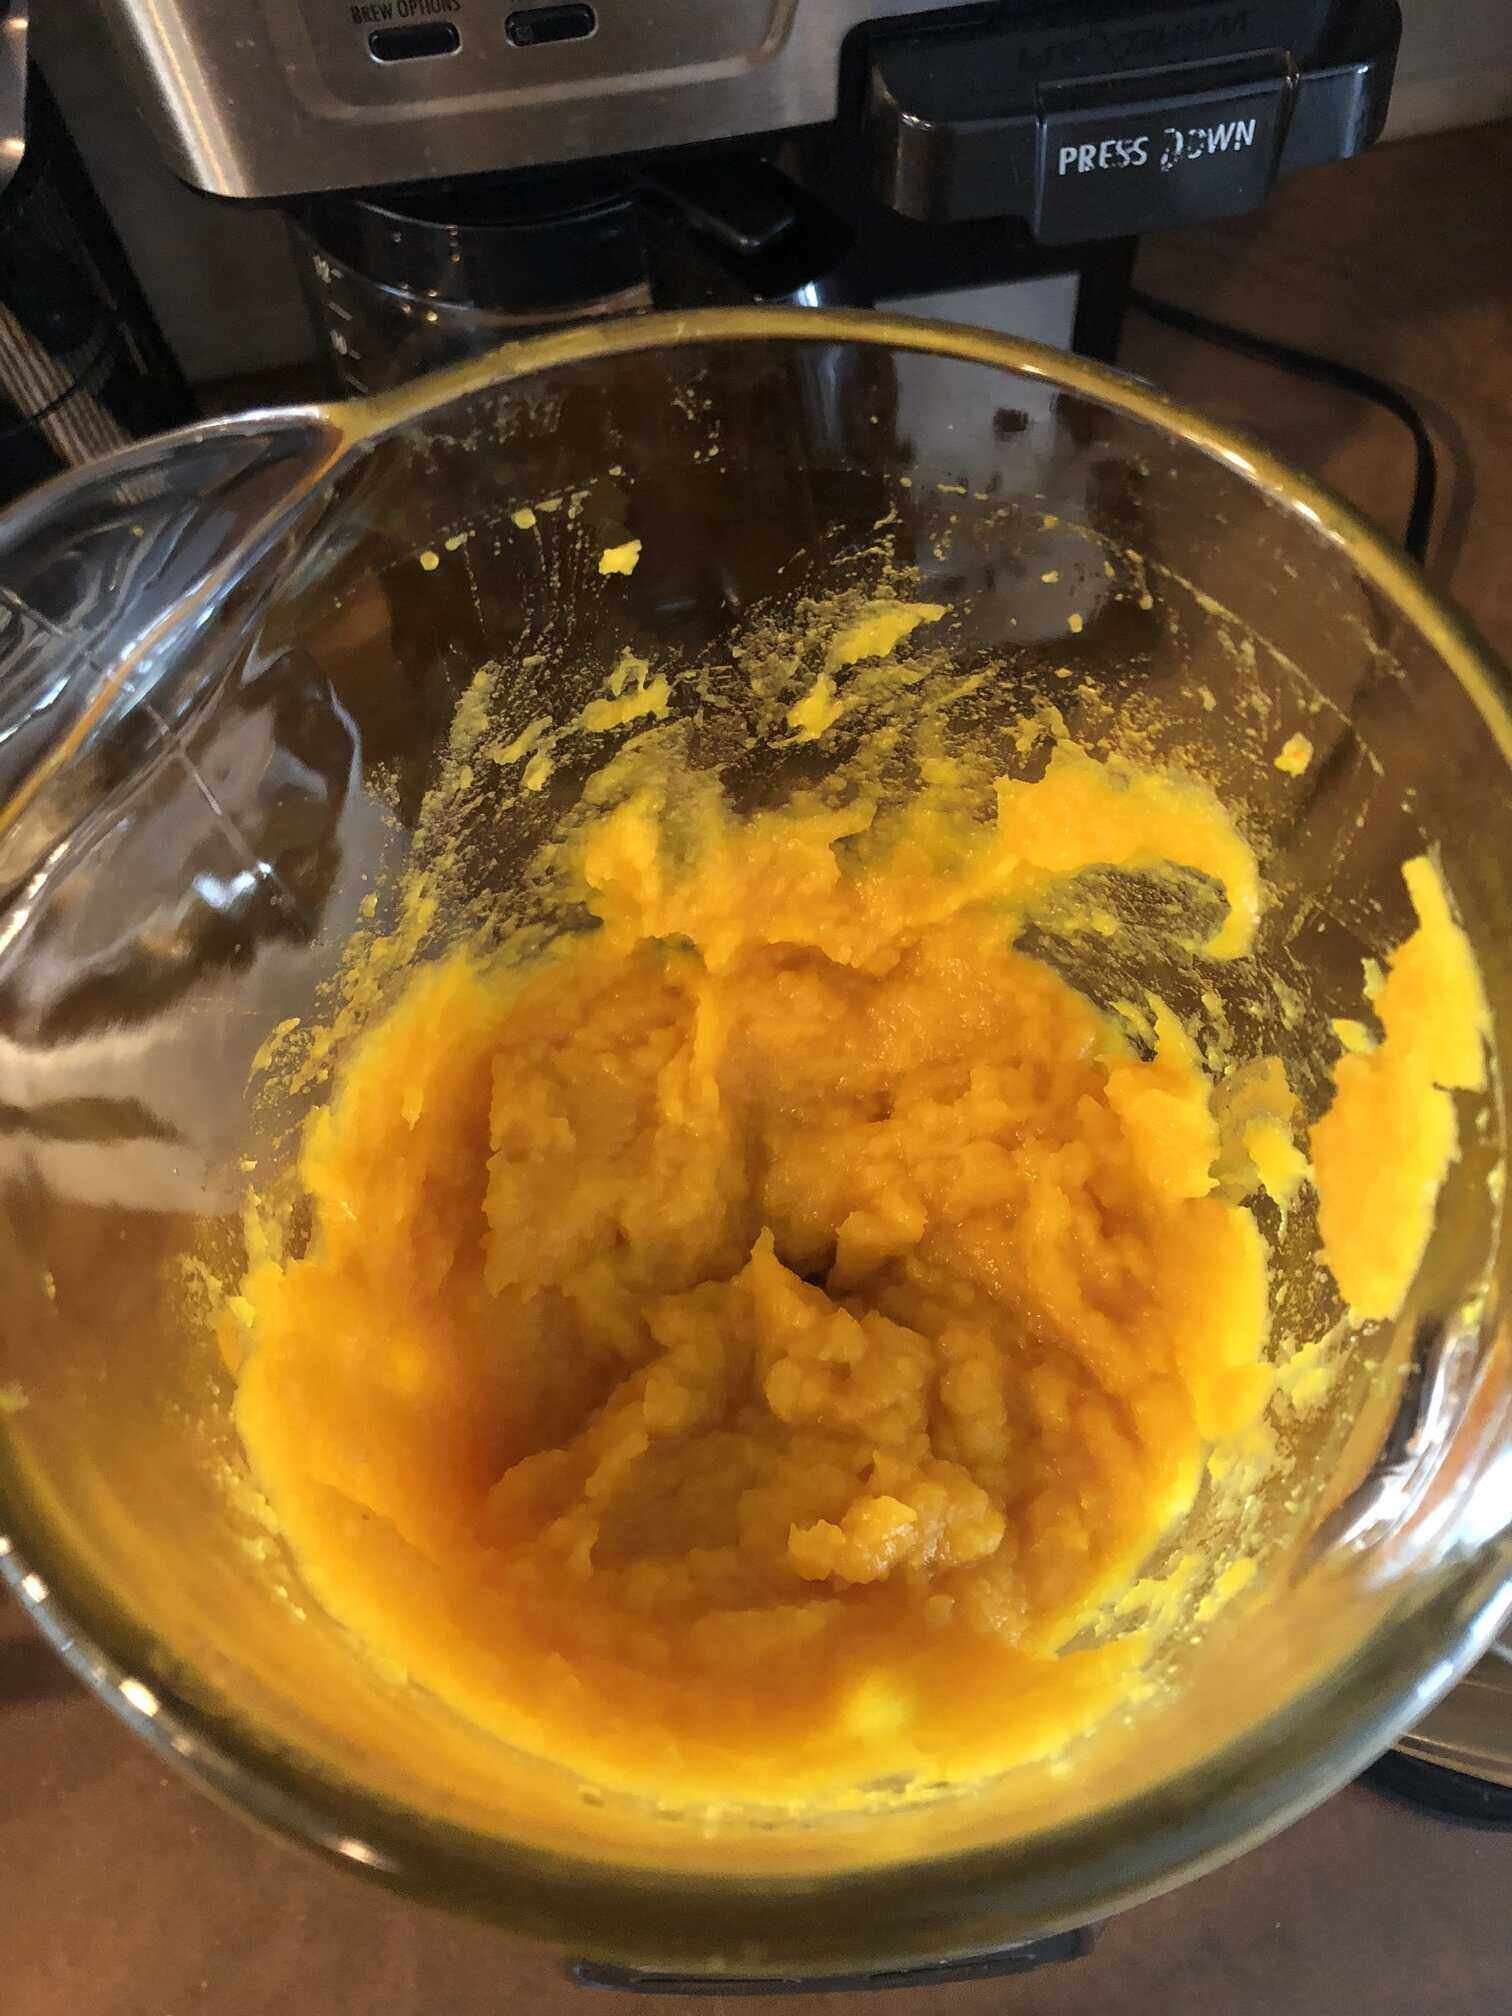
You can also puree with a blender for extra smoothness. I prefer to use my immersion blender because it is so easy without any mess!
Storing your pumpkin
After you have cooked the fresh pumpkin, you will want to store the leftovers. I have these storage containters pictured below. I love the size because it perfectly matches a can of pumpkin, about 14-16 oz worth. This is the size I use for a recipe and want to use a whole container at once without leftovers. (I hate having an ounce or two leftover in a can!)
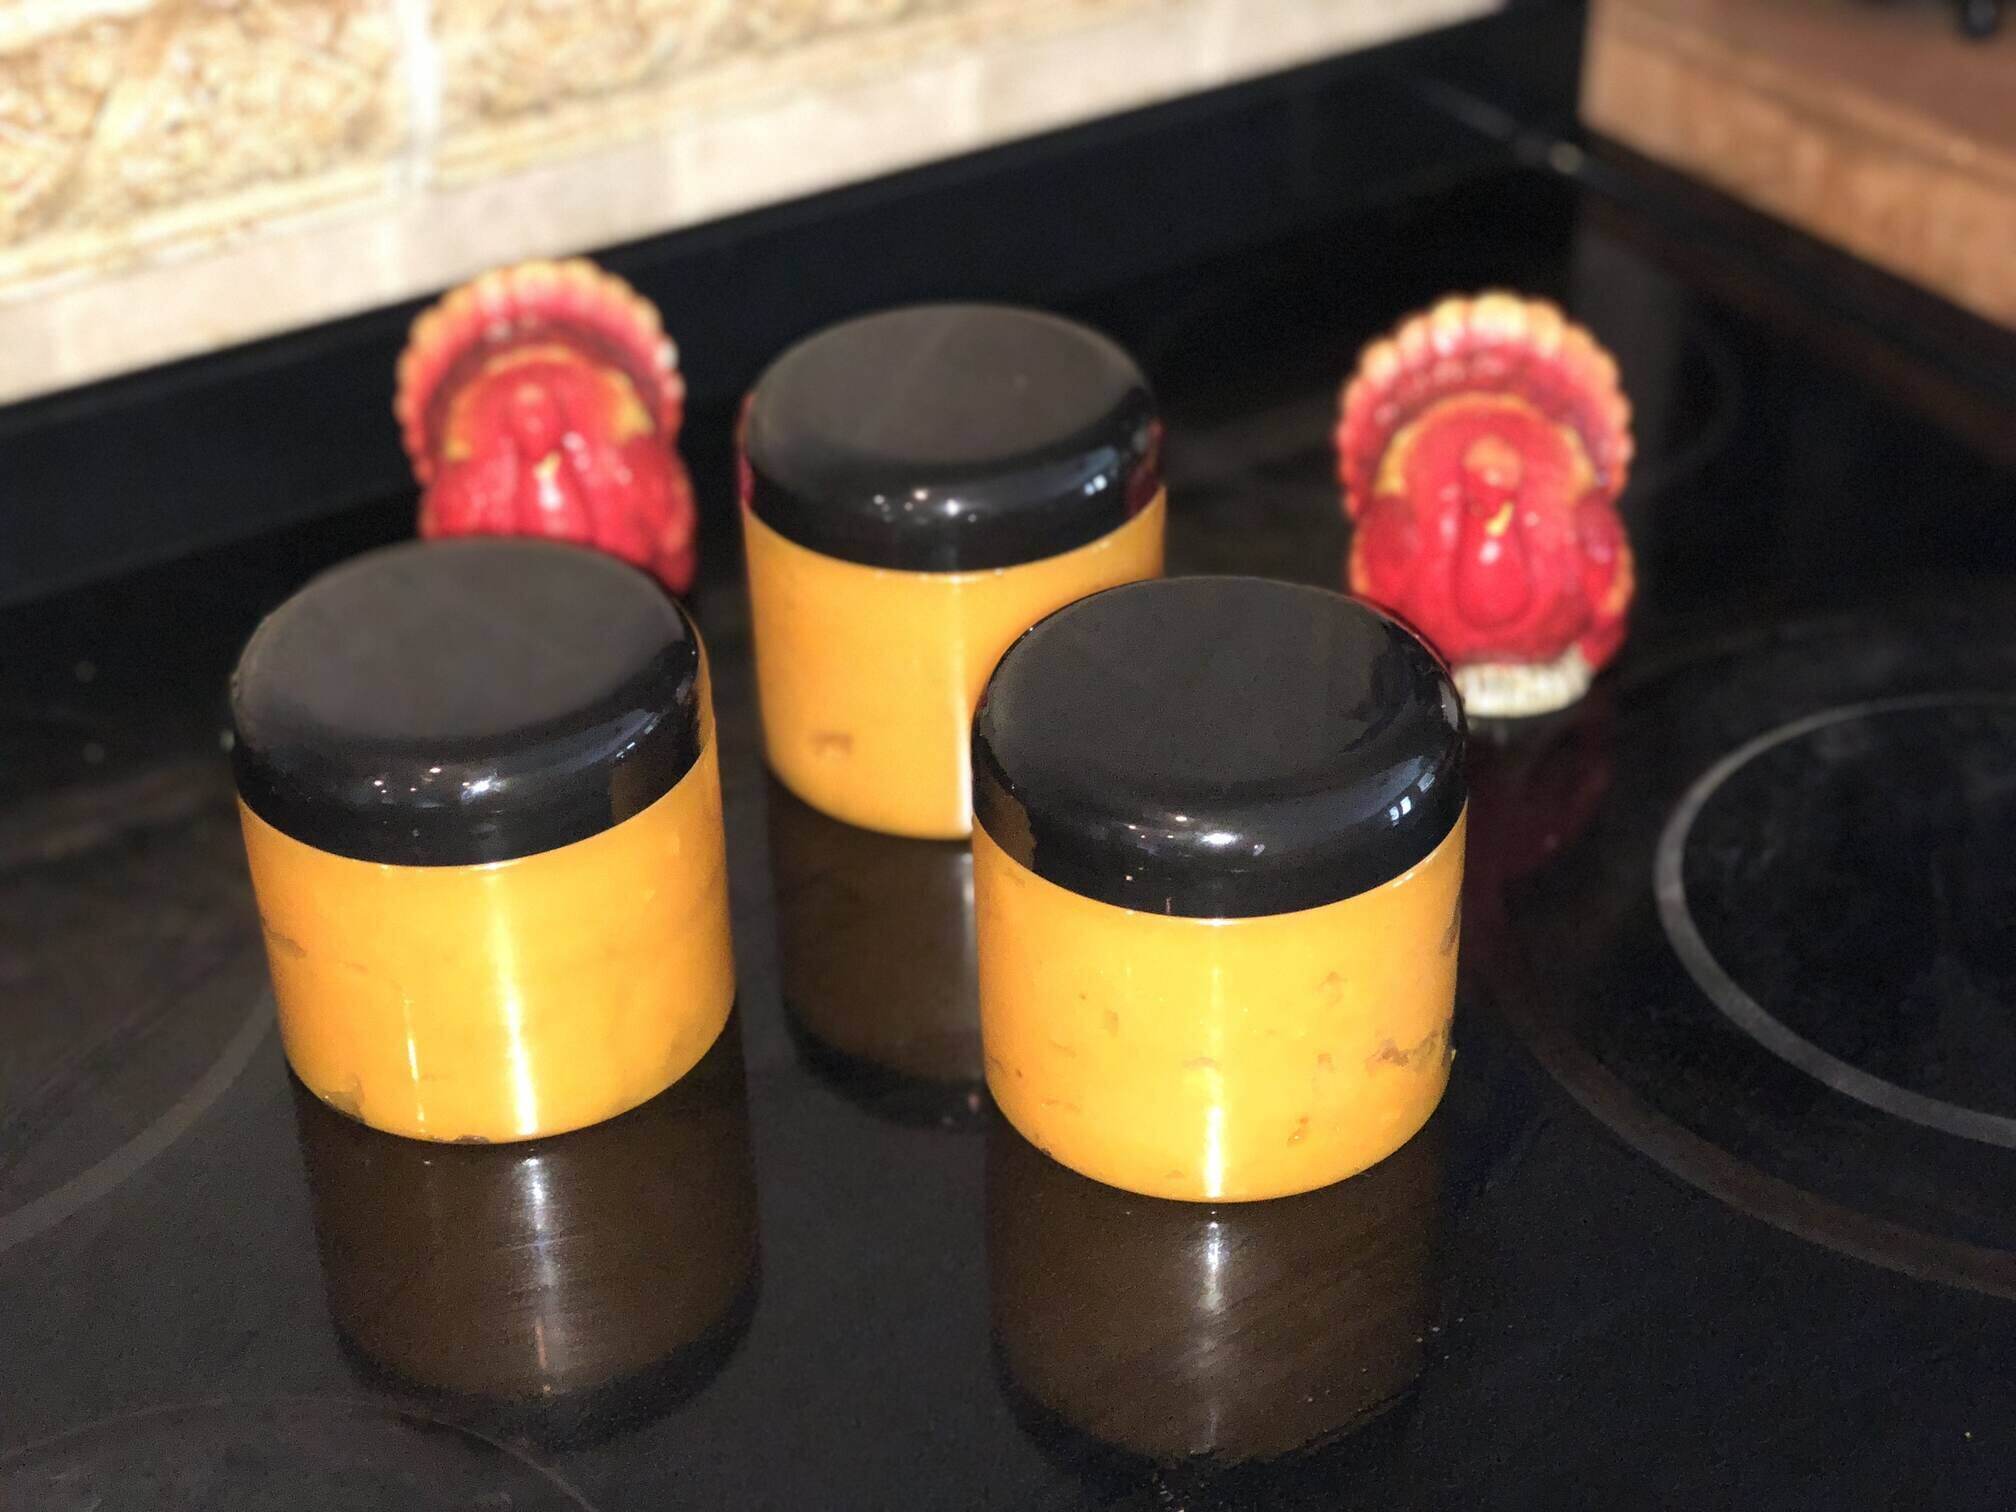
These containers freeze nicely and hold up in the freezer for a few months. If you know how to can, you can use that alternative method instead. I prefer to freeze everything, and since I have the space, why not?
Roasting the Seeds
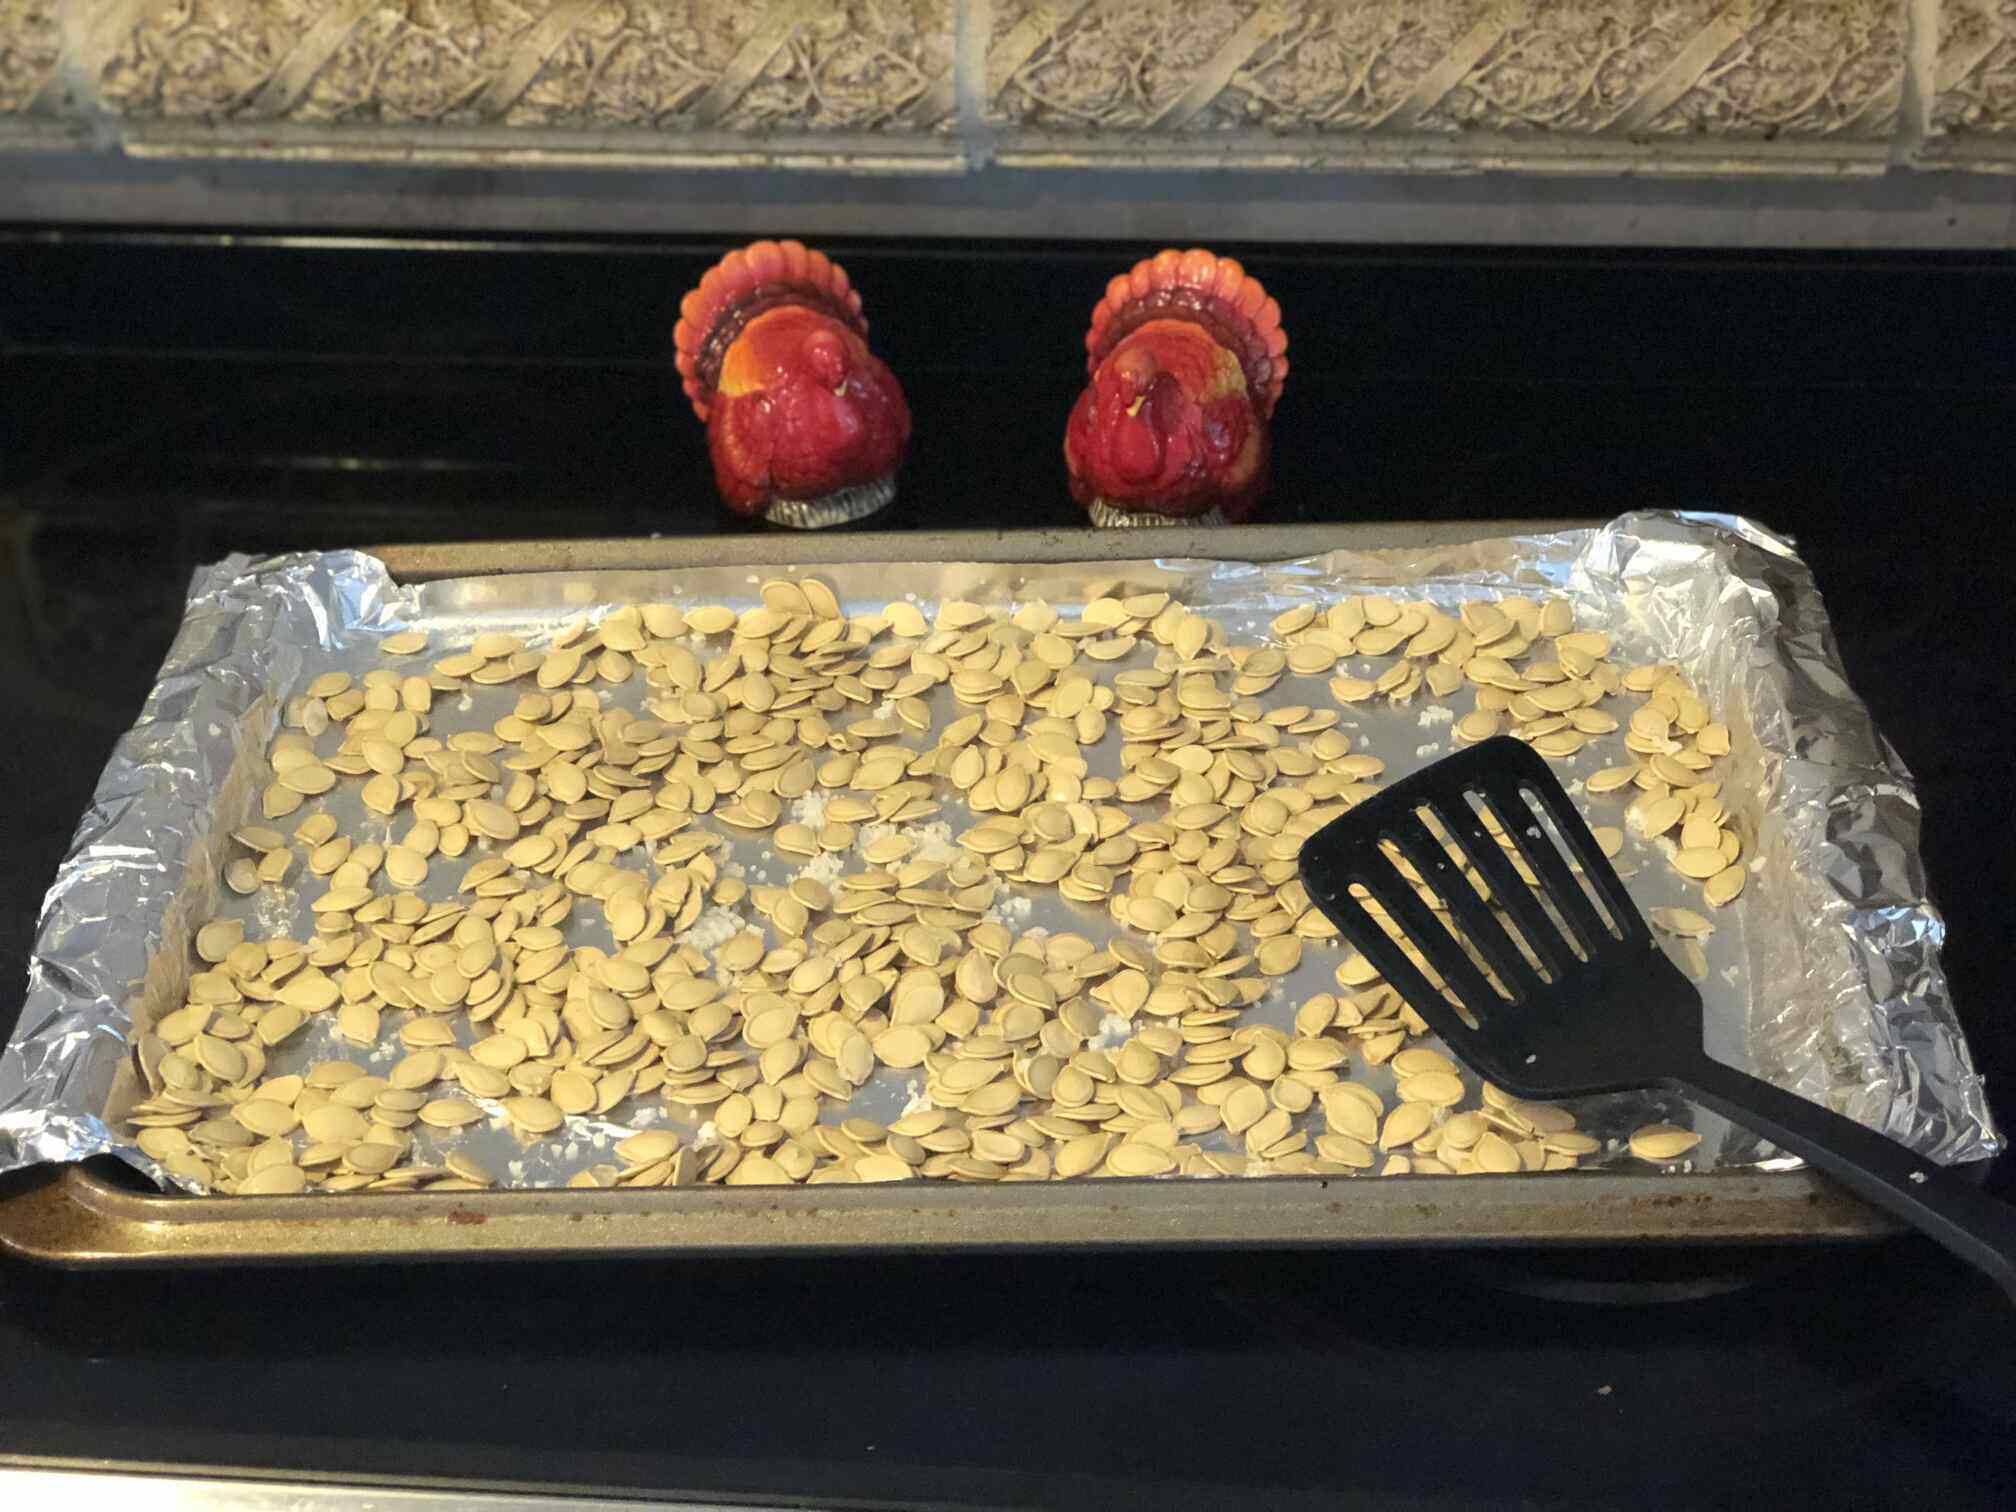
Don’t forget about the seeds! After you pick through your pumpkin guts, save every seed you can! Use a strainer to clean the seeds and hopefully not lose any down the sink. Pat them dry with a paper towel. Spread them out on a baking sheet (foiled and sprayed). Sprinkle the seeds lightly with salt. Cook at 250 degrees for an hour. At the 30 minute mark flip them and shake them up a little. Sometimes my husband asks me to add a little more salt here, but it is your own personal preference.
I hope these instructions help you out this holiday season to cook fresh pumpkin! I love pumpkin and will happily eat it year round! I hope you enjoy! And I pray your holiday season is wonderful and don’t forget to enjoy your blessings!


